
I turned my 3D printer into Mr. Squiggle while my hot end was waiting on parts. Results were interesting.


I just clamped a pen to the J-carriage. Pretty simple.


I also used the following method to generate the .gcode from a .jpg with settings as follows:
1. Download and extract the .ini file below, and add it to Cura as a custom slicing profile in File –> Open Profile.
2. Add any .jpg file, and the following input box will appear:

You will need to adjust the settings. For my drawings, I set height at a maximum of 10 layers, which is input as 0.1 mm in the Height box. I set the base as 0, and the width and height of the image at slightly less than the size of the paper I was working with.
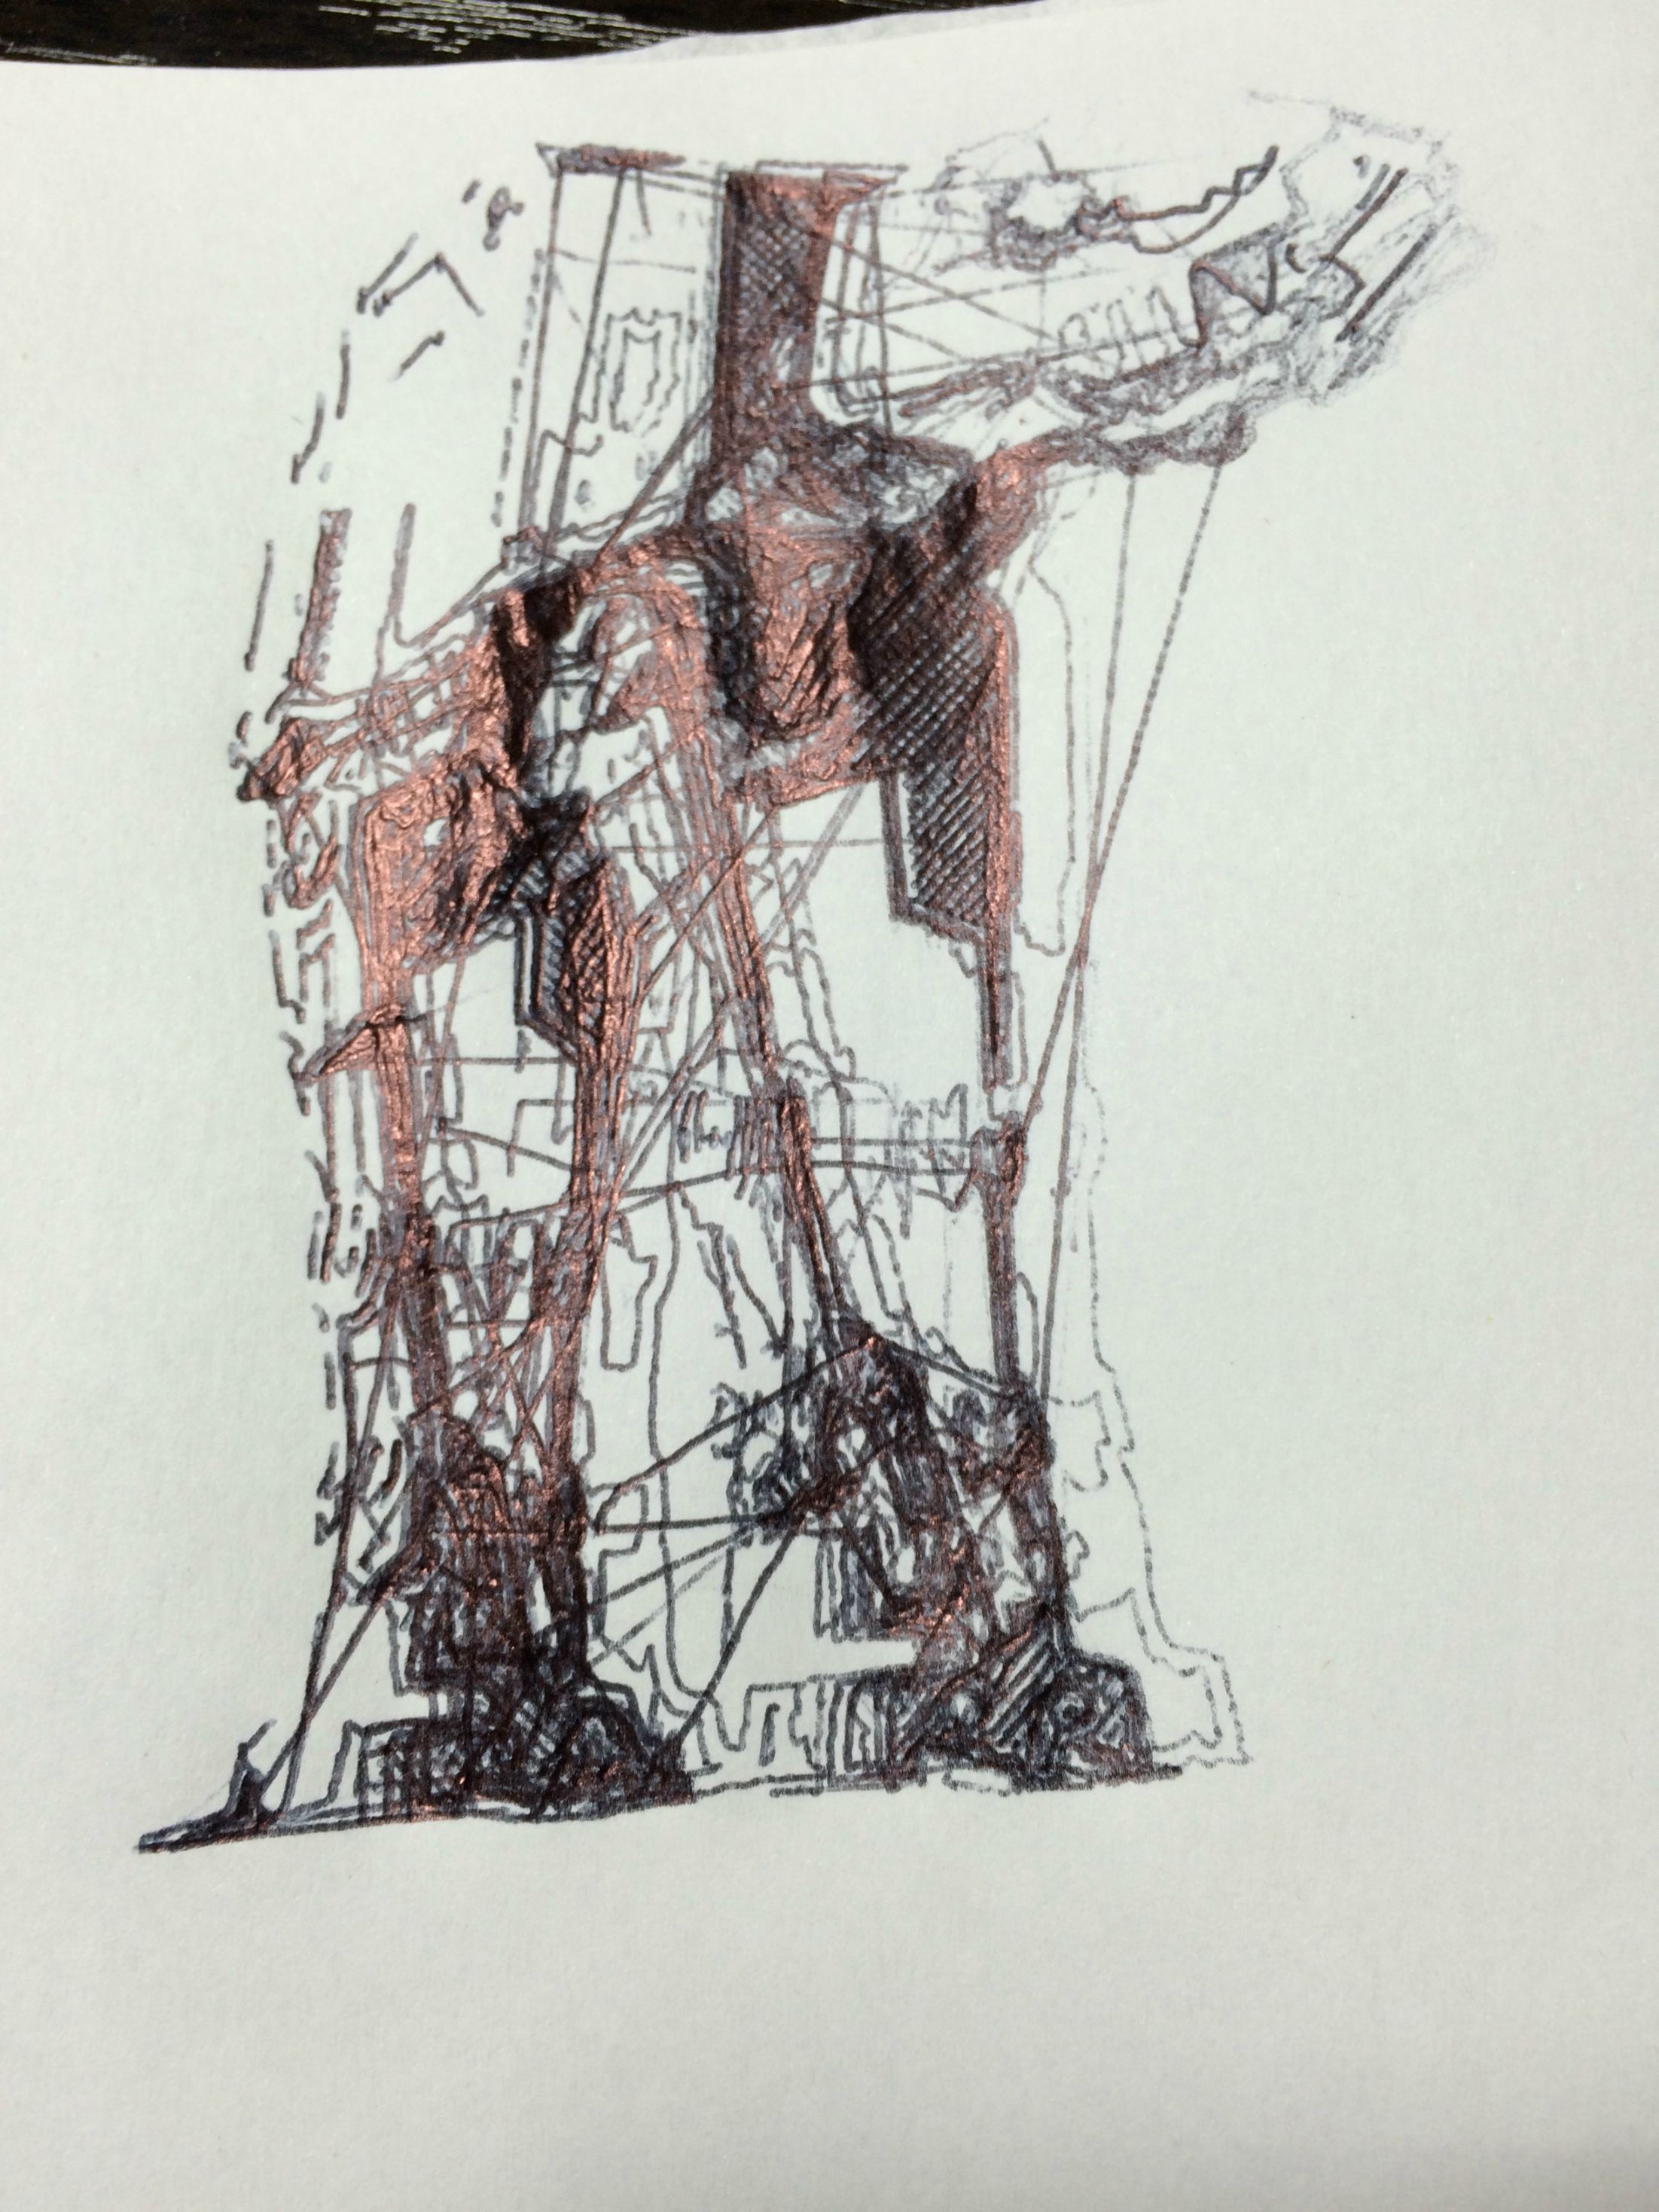
Different layer numbers with the same photograph can produce interesting effects, as with the photo of mum and I where I have no eyes. A layer number around three or four is better for darker photos – I found that my ballpoint pen would make things too dark, causing the paper to ripple and warp, later ripping the paper.
Definitely keen to try it out with different coloured pens next time.