
I’ve wanted to build a polargraph since I saw one on display at the Adelaide Makerfaire. It was a huge display, drawing a picture roughly around 1500 x 2000 mm. I was hooked!
A polargraph is a type of drawing machine that you can give any type of drawing implement, whether that be a pen, chalk or whiteboard marker, and it can draw any picture file you send through the software. You can also scale it as large or as small as you like, just lengthen your wires and buy a bigger timing belt! It’s an open source project that’s been worked on by a number of people and it’s at the stage where it’s plug and play – flash the firmware to the arduino, download the software and you don’t need to touch a line of code.
It’s taken me an unnecessarily long time to complete this build. I followed a combination of tutorials and made many mistakes by purchasing parts that were slightly different from what I needed. That’s why I’ve included below a full Bill of Materials (BOM) below of all the local sellers I used if any fellow Australians would like to make one and not run into the same problems I have.
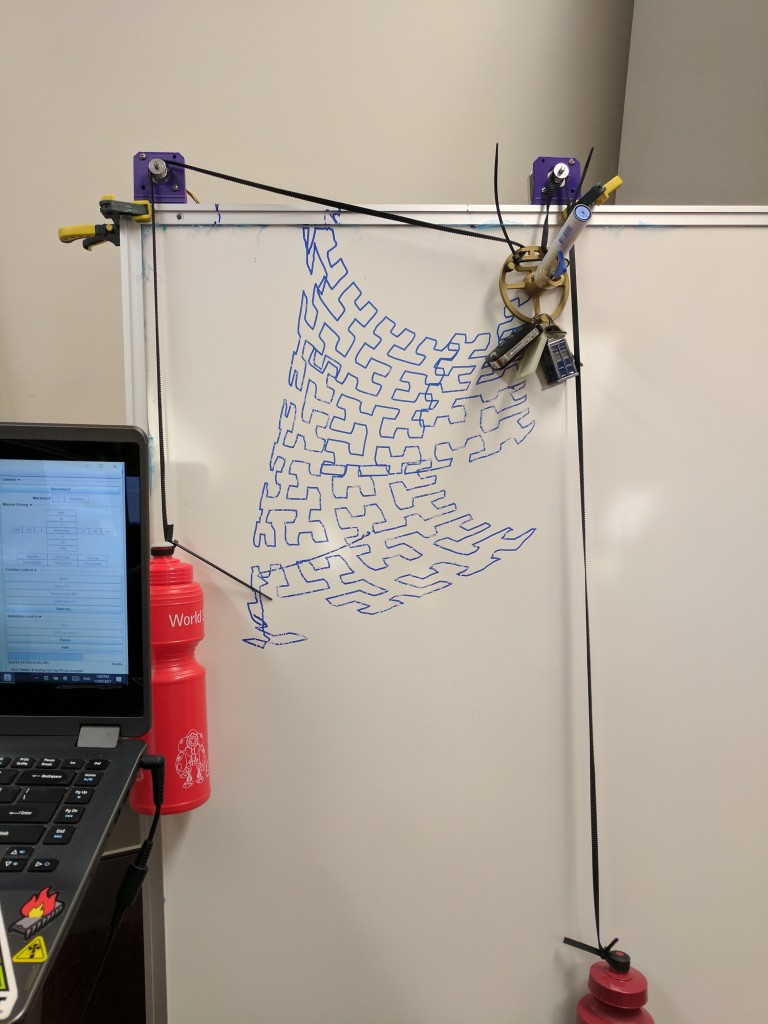
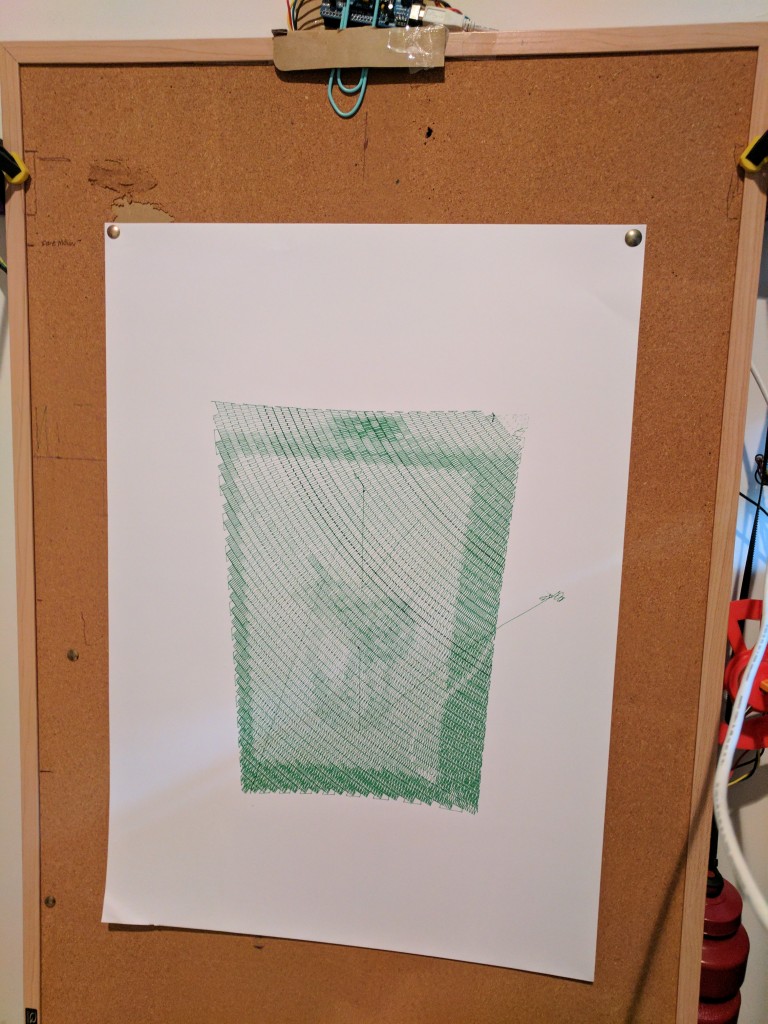
Once it’s put together, you find out that calibration is a must! Depending on which software you choose, the calibration ‘homing’ point is different. Here’s some early testing on a whiteboard.
After getting the machine going, it was time to make some more improvements. I 3D printed a new, better gondola to hold the pen in place with bearings.

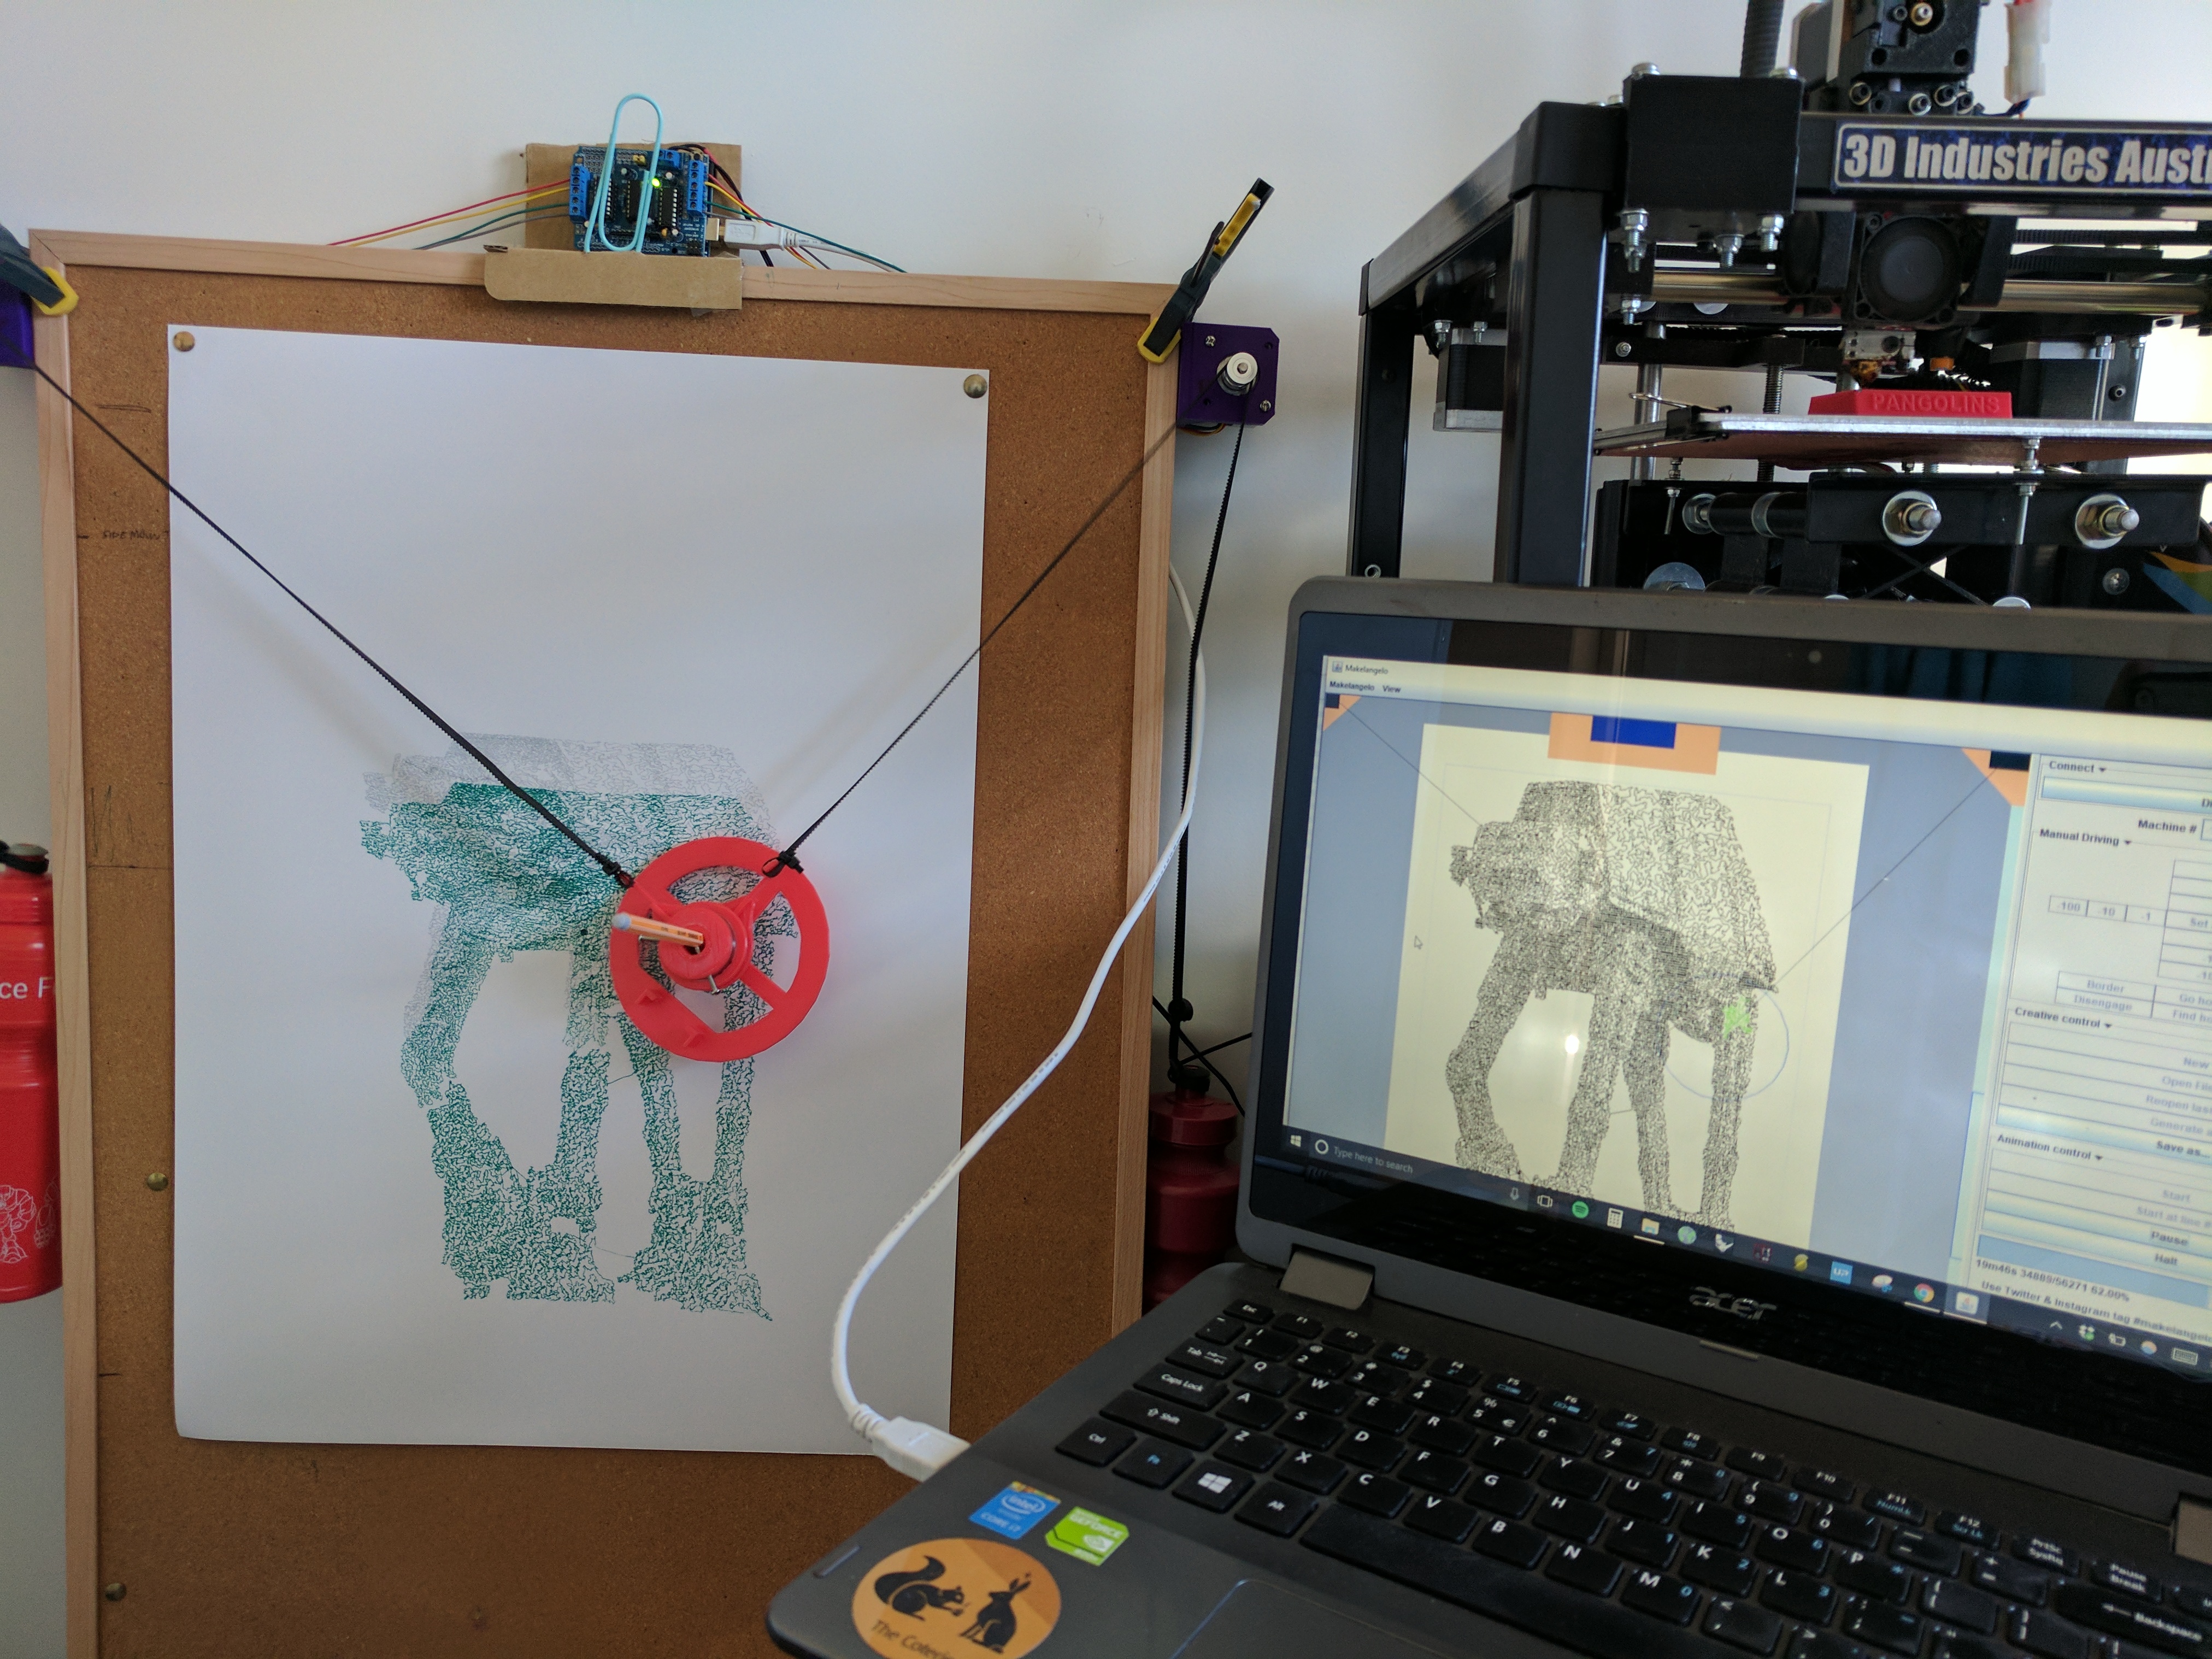
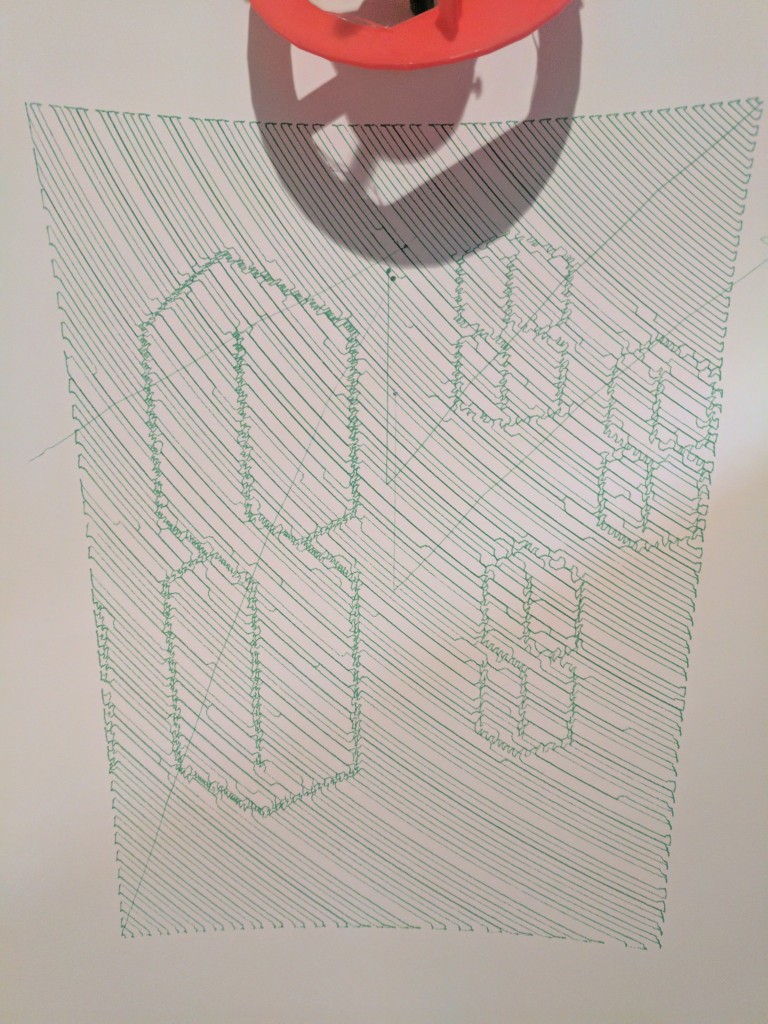
Here’s the polargraph drawing a picture of itself from the image above.
It also handles photographs quite well! Here’s a snap of my mother and I.
Things got out of hand when I started to take picture requests.
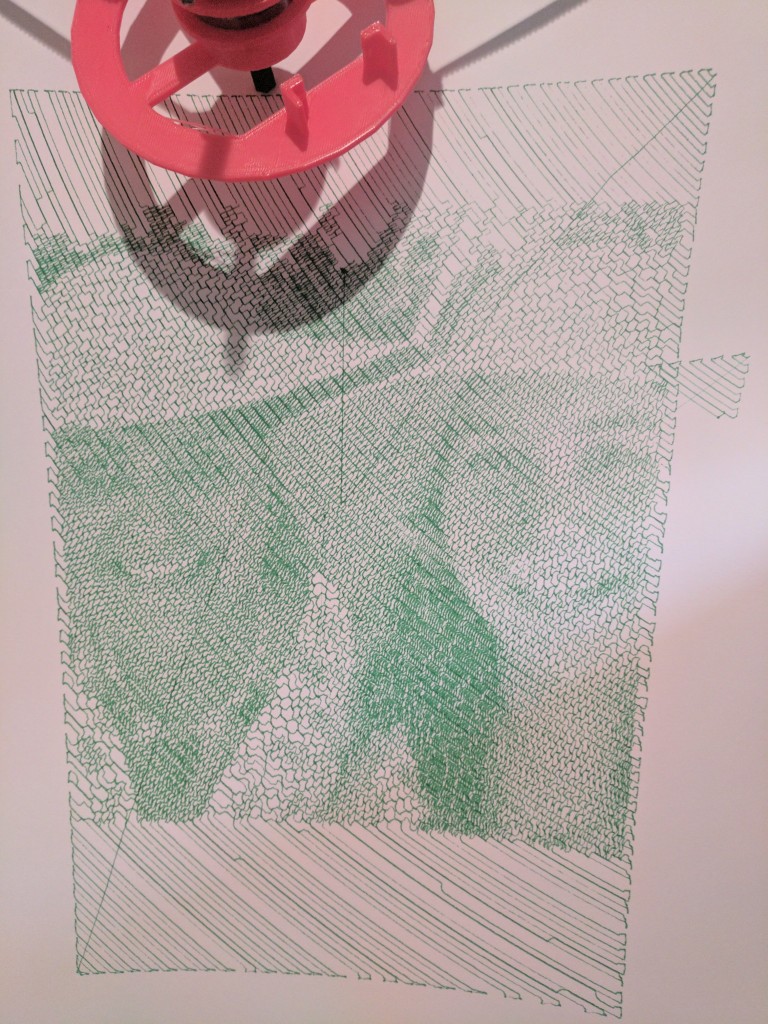
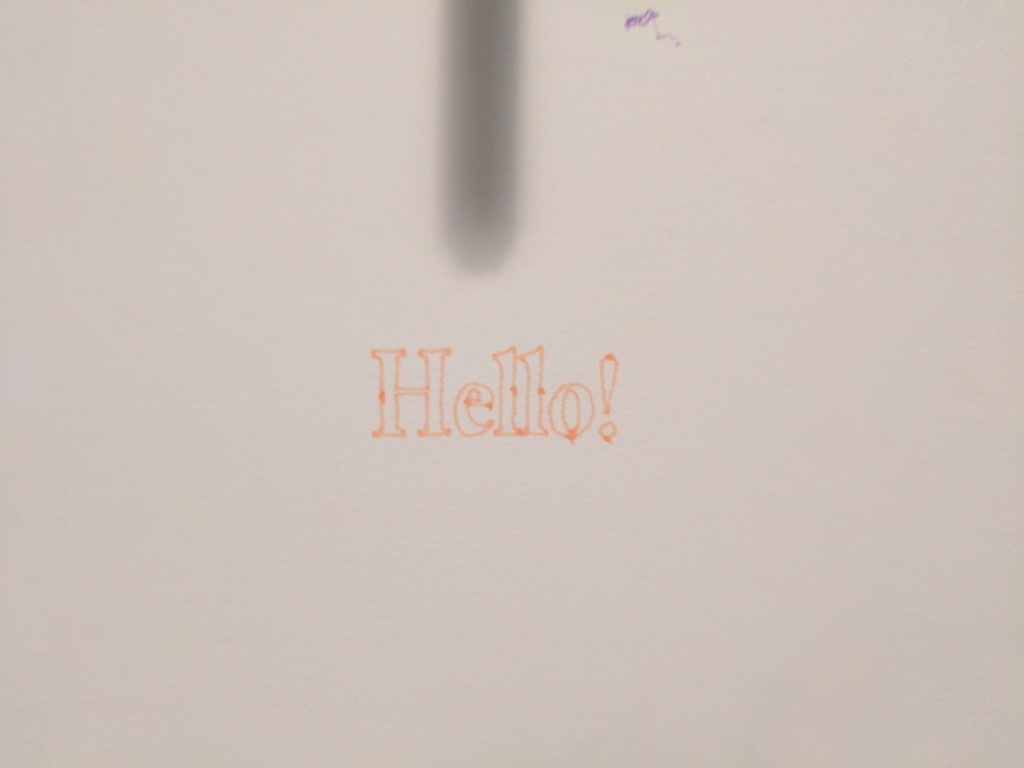
Hello pen lifting! Until I added a servo motor to the gondola, everything had to be one long squiggle.
Really happy with how this one turned out! The pen lift and good calibration really makes all the difference.
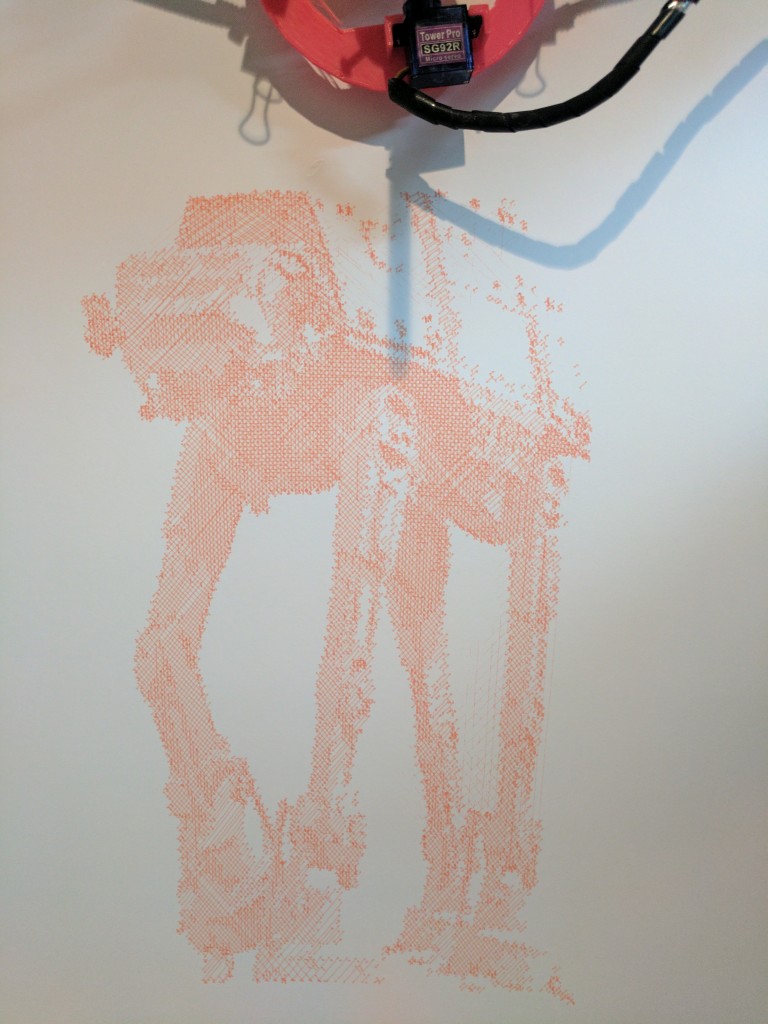
And now with a pen lift servo! #polargraph pic.twitter.com/NKtc1gSpXp
— Steph Piper (@sjpiper145) July 29, 2017
Finally, I bought some black paper and metallic pens…
Love the gold ink on black paper with the #polargraph. Get your picture drawn at the upcoming @usqedu Open Day at the #makerspace pic.twitter.com/joAQVD6fix
— Steph Piper (@sjpiper145) August 1, 2017
To assemble the polargraph, I followed Euphy’s instructable, it’s got some great detail!
https://www.instructables.com/id/Polargraph-Drawing-Machine/
I used the software and firmware from the Makealangelo project here:
Polargraph BOM
| Item | Quantity | Cost | Purchase Link |
| Arduino Uno | 1 | $29.95 | http://bit.ly/2sf9t9r |
| Motor Shield V1 | 1 | $13.95 | http://bit.ly/2tgMRWY |
| NEMA 17 Stepper Motors | 2 | $42.26 | http://bit.ly/2ucjbgy |
| Timing Belt & Pulleys | 1 | $12.41 | http://bit.ly/2tsbDaM |
| Power Supply, 1 amp 9V variable voltage AC/DC | 1 | $26.95 | http://bit.ly/2trJdNT |
| 6003Z deep groove bearings | 2 | $8.00 | Bought local. |
| 3D printed mounts | 2 | ||
| 3D printed Gondola | 1 | ||
| Total | $133.52 |
You can really make use of your local 3D printer for a few of these parts.
If anyone out there would like to build one of these with guidance for their school or for fun, I’d be happy to host a workshop if there is interest. I can put together a kit of the BOM above plus all of the extras (backing board, clamps, pens, and all 3D printed parts) and build over a day-long workshop including the assembly and arduino. Participants finish with a functioning machine to take home for $250 a head. Shoot me an email at [email protected] before the end of the month if this sounds appealing and I’ll schedule one in if I get at least five interested parties.